
C#
Better C# Switch Statements for a Range of Values
By hackajob Staff
Hello👋 and welcome to part 3 of our Firebase tutorial. If you missed part 1 and part 2, make sure to catch-up before continuing any further.
If you’ve been following along so far, you should have built an app that can operate without an internet connection and is connected with Firebase. In this tutorial, you’ll be working on CRUD operations with Firebase; starting with learning how to insert data.
Inside your database you’ll have a ‘node’ called ‘task’ and you’ll push all tasks inside of it. When pushing objects inside a ‘node’ in Firebase, it creates a unique identifier that you can use as your ID:
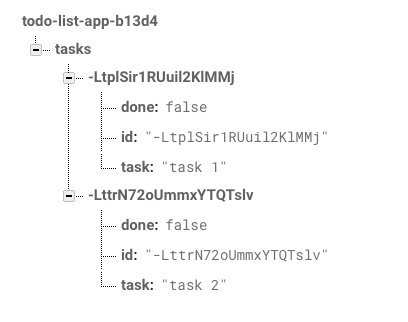
Remember that this unique ID is timestamp-based so it’ll always be ordered from the first to the last object. To begin, you’ll push a new empty object and in return, Firebase will give you your key. From there, you’ll be able to use the key as your ID and update the same object with the new task. Next, it’s time to update your insert function:
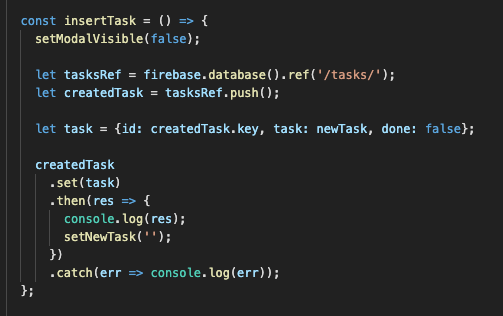
After setting your modal to false, you’ll be creating a reference to the task’s 'node', meaning you’ll be pushing something empty inside this reference with ‘taskRef.push()’ - creating a new reference to the empty object. To make this work, you’ll need to create your new object with the returned ID (separate from the push part) and set it in the empty 'node'.
You should already be able to list tasks from Firebase and receive updates in real time.
Whilst the listing part of the process is pretty easy, it’s key to remember that when you’re working with Firebase and have an array, it'll return an object with the 'nodes' required:

To transform the above into an array, you’ll need to use the Lodash library. Install it as part of your project:
npm i --save lodash
You’ll now transform this object into an array and set your list. Start this process by importing Lodash:
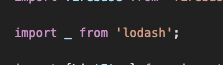
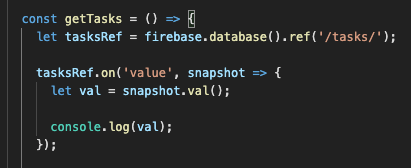
Then finish the implementation for list tasks:
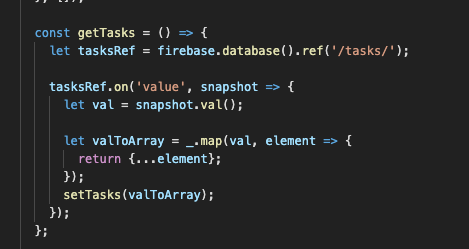
To list something from Firebase, you have two options - ‘.on()’ and ‘.once()’. Every time you use ‘.on()’ in the database, your application will be updated also. Whilst this can prove useful when implementing a chat bot as an example, the amount of data traffic isn’t always beneficial, so in this case; it’s wise to choose ‘.once()’.
Below is an example of something changed in the database and the accompanying change in the app:
When you need to set your task as ‘done’ you’ll have to update it in Firebase and can use two different options - ‘using.update()’ and ‘using.set()’. In this instance, we recommend using the ‘using.update’ option as using ‘using.set’ can delete the entire database if you write it to the wrong path.
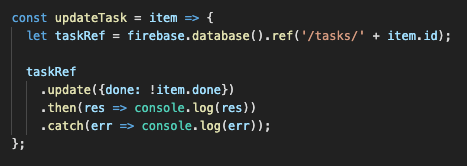
After the update you can use console.log, but this isn’t necessary. Below is an example of how your app should look in the database:
Removing and deleting things from the database is fairly simple. Just like in the update section, simply set a reference and use ‘.remove():’.

Your app should now be fully operational, with options to insert, list, update and delete data from an online database.
Firebase is available for many platforms such as web, iOS, Android and React Native. Just like in our tutorial, you can use it as a web platform but Firebase has lots of other functions that you can use without any trouble. If you’d like to learn more, we recommend taking a look at the relevant documentation.
You can find the final code here.