
C#
Better C# Switch Statements for a Range of Values
By hackajob Staff
If you’ve been keeping up with all-things React Native, you’re likely to have heard about ‘hooks’. And in all honesty, there’s a big hype about about them. ‘Hooks’ have been available since last month’s release of React Native 60 and allow users to go through the entire React Native lifecycle without needing to use any kind of class. In short, you can use ‘hooks’ to have all the features of a class, but with far less code.
At first glance, you’ll need to rethink the way in which you implement your components, but after doing this a couple of times, it’ll come naturally to you. Today, we want to teach you the basics, so we’re going to show you how to build an app that’ll have both state management and a ‘start’ action. First, you’ll build the app using class components, and will then transform it to redux and compare the codes.
At hackajob HQ, we’re full-on coffee lovers. We get a fresh order every week and whilst in the communal kitchen today, our engineering team figured that we could use a coffee machine as an example of a management state.
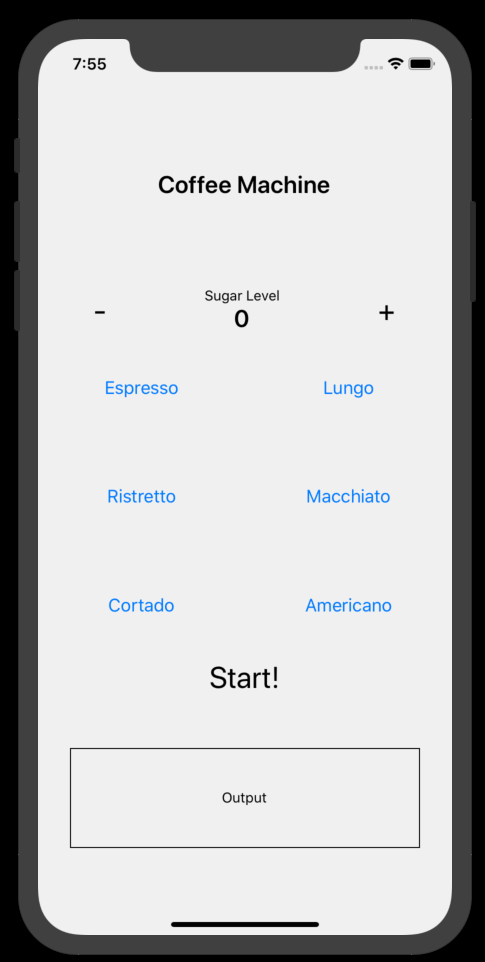
Within the app you’re going to create, you’ll make a simple interface. This will include the sugar level, some buttons to choose different types of coffee and some output information.
Get started by inputting the following:
react-native init coffeeMachine && cd coffeeMachine
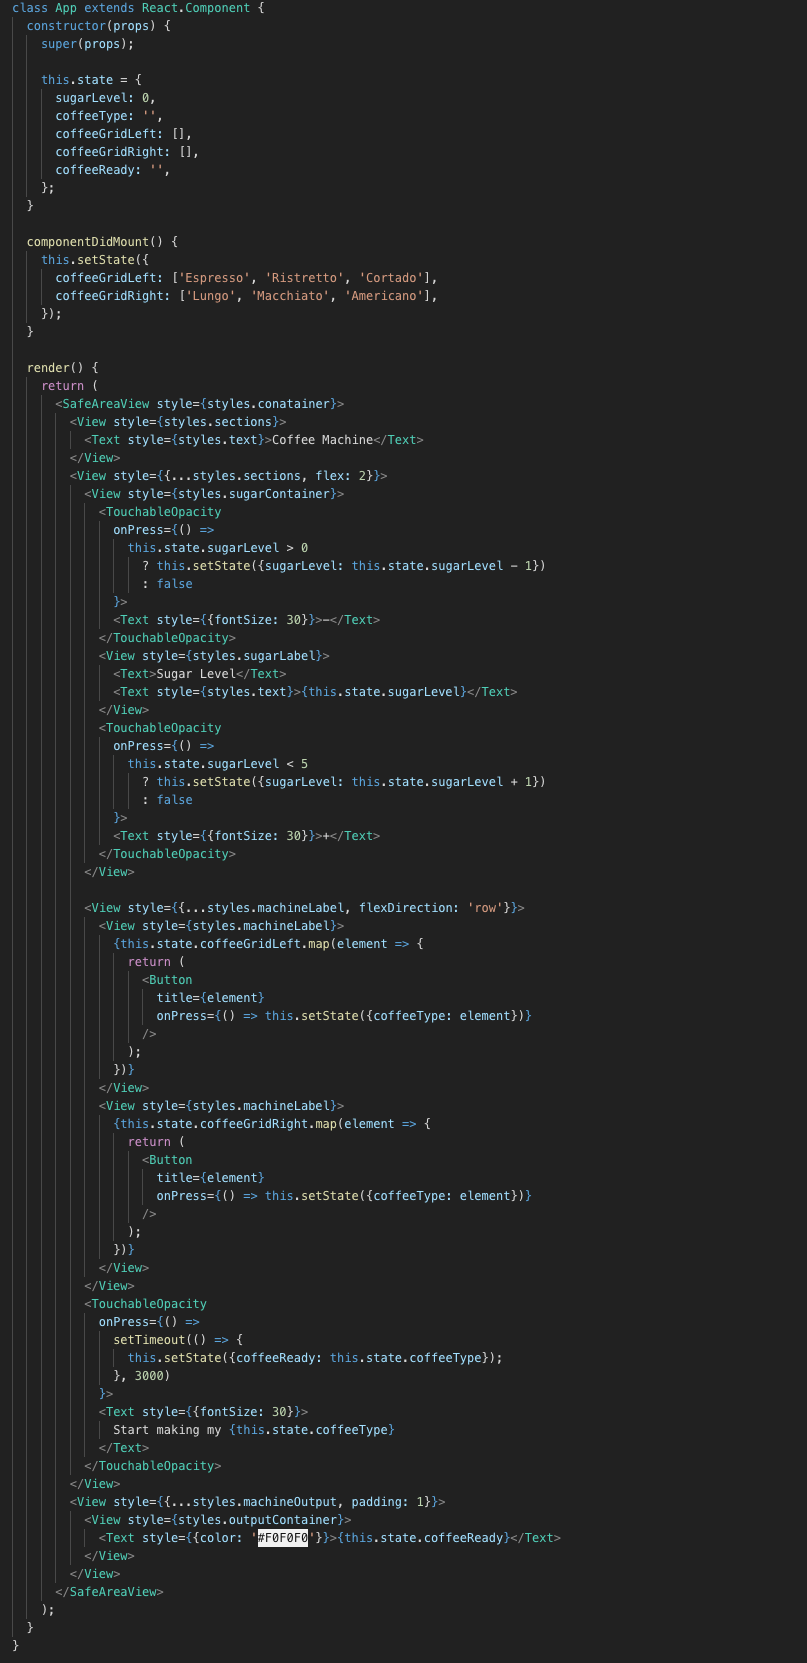
It’s now time to edit some code. Remember that this will be your component class without 'hooks' (don’t fret, they’re coming!):
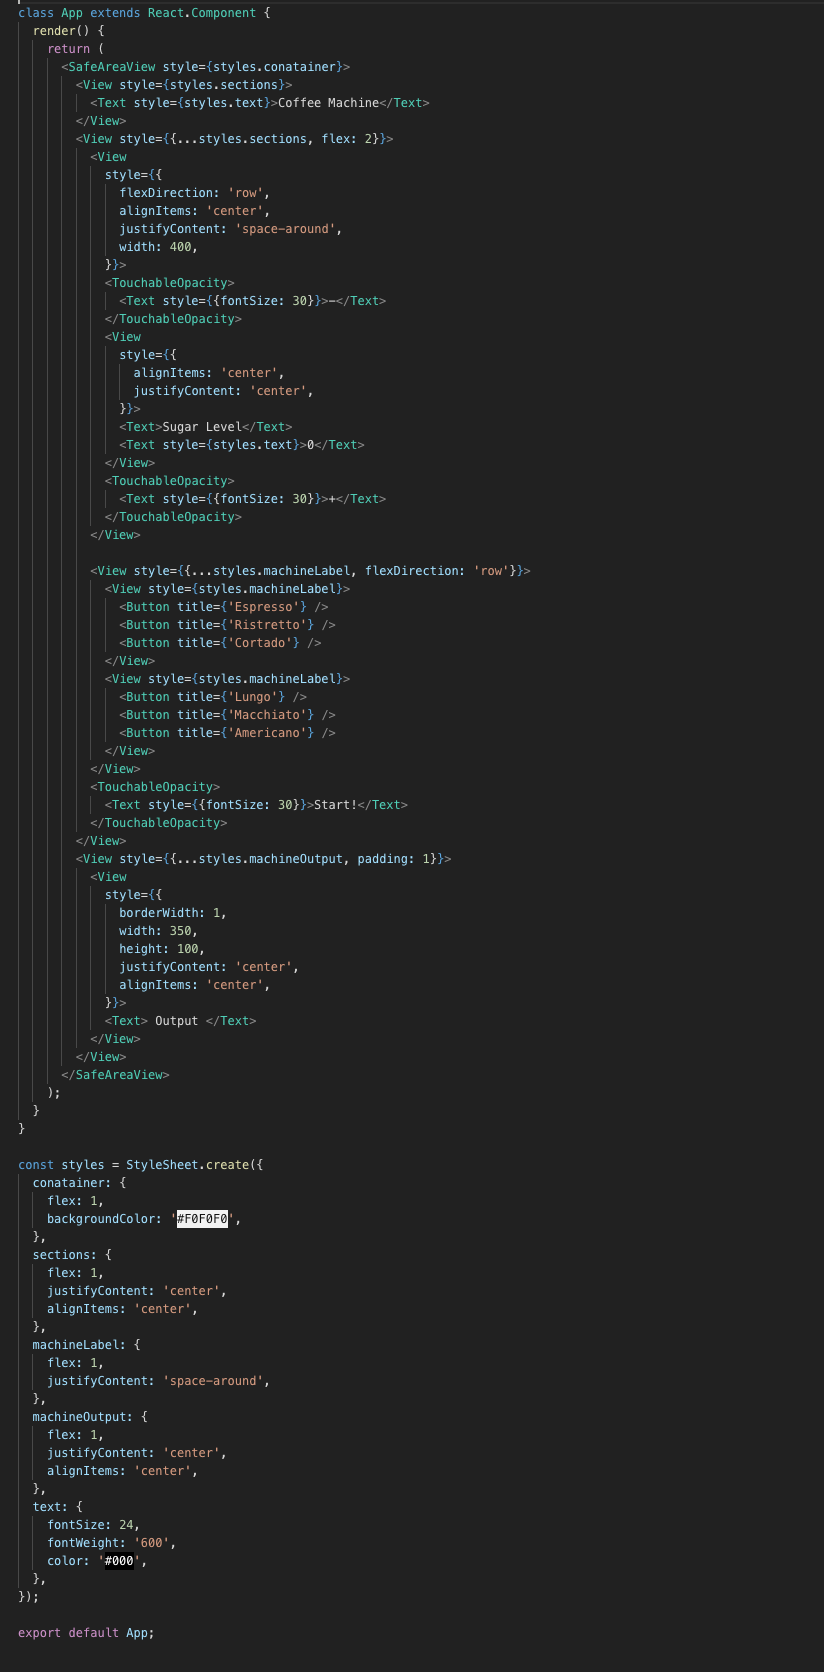
You’ll begin by setting the sugar level from 0-5, choosing your preferred coffee and pressing ‘start’. You’ll then set your ‘states’, starting with the sugar level and then the coffee type. For learning purposes, you’ll fill the grid button dynamically via a ‘componentDidMount’ function.
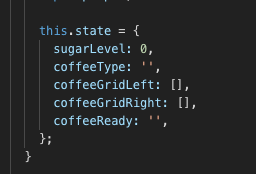
To do this, you’ll set a constructor for your ‘class’ so that you can use ‘states’:
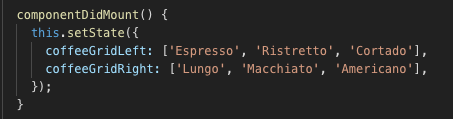
Add a ‘componentDidMount’ function to set your button labels:
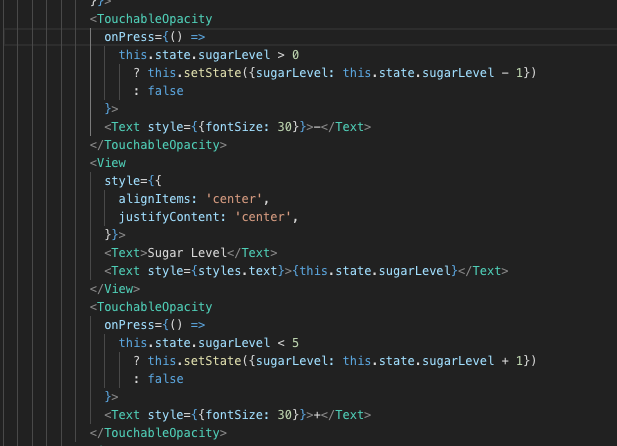
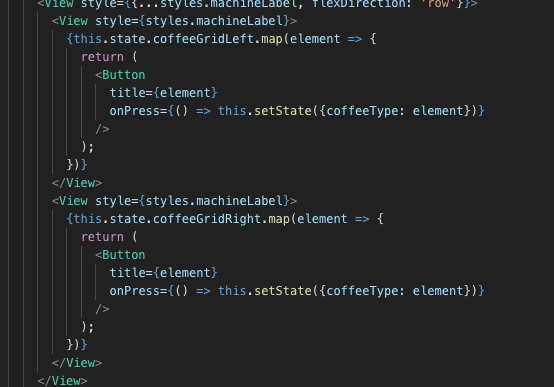
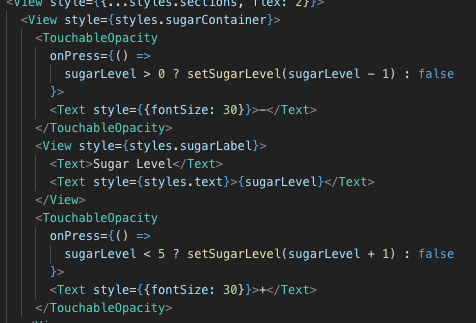
As well as the sugar selector and button grid:
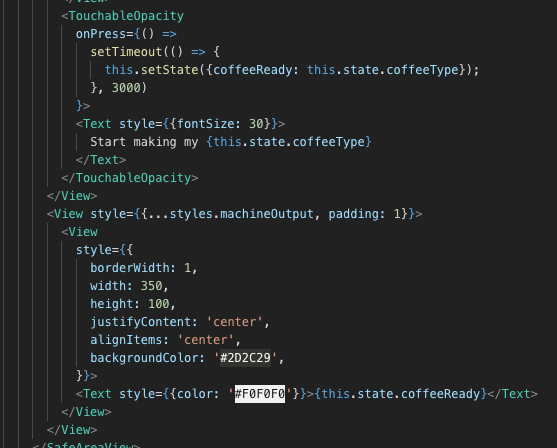
For the final part of the coffee machine, you’ll set the output mechanism and ‘start’ button:
After some refactoring, you should have a coffee machine made with class components that’s ready to make as many virtual cups of coffee as you desire ☕️:
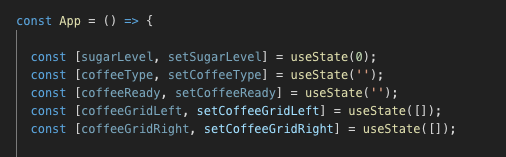
It’s time to jump in and start using hooks. First, import both ‘useState’ and ‘useEffect’ from React. This will transform your ‘class’ component into a ‘functional’ component:

From there, you’ll need to work on where you previously set your ‘states’. Remember that as you can’t use ‘constructors’ any more, you’ll want to just declare them instead:
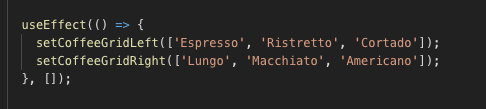
Now, substitute ‘componentDidMount’ for ‘useEffect’:
Next, you’ll want to substitute ‘this.state’ for the variable name and ‘.setState’ for your new set options:
After completing this substitution for the entire component, you’ll have something a little more verbose. Note that before using ‘hooks’ in this tutorial, you would’ve had around 91 lines of code whereas with ‘hooks’, you should have about 75. Overall, the use of ‘hooks’ is definitely worth considering when developing a large project, as they’re likely to make quite a bit of difference.
‘useEffect’ can be implemented however many times you need within the same component, e.g. you could use it every time you need to change a variable; and it would run every time something changed. Remember that in the example used in this tutorial, you’d only want to execute 'useEffect' once and so after the ‘callback’, you’d pass an empty array, otherwise your app would crash.
Espresso without sugar please, or if you’ve just woken up, how about a Ristretto?
‘Hooks’ are new to the React Native environment and whilst it can seem a little daunting to try something new, at hackajob HQ we think it’s important to try new things and see what works for you. The learning curve isn’t as difficult as it seems and ‘hooks’ will make your code far more concise: it’s a win-win.
If you’d like to take a look at the final code, it’s available here.